
TeamViewer Installation Guide - Mac
- Click on this link to download TeamViewer. Please use this link only
- Once the download is complete, open the downloaded file
- A new window will open with the TeamViewer logo in a box. Double-click the logo to start the installer
- If a security message appears, click Open
- Tick the checkbox to accept the TeamViewer EULA and DPA, then click Continue
- The installer will open, you can click Continue
- You will be taken to another menu, where you can click Install and will be prompted to enter the Mac password to confirm
- After the installation is complete, TeamViewer will open. A setup window will appear:
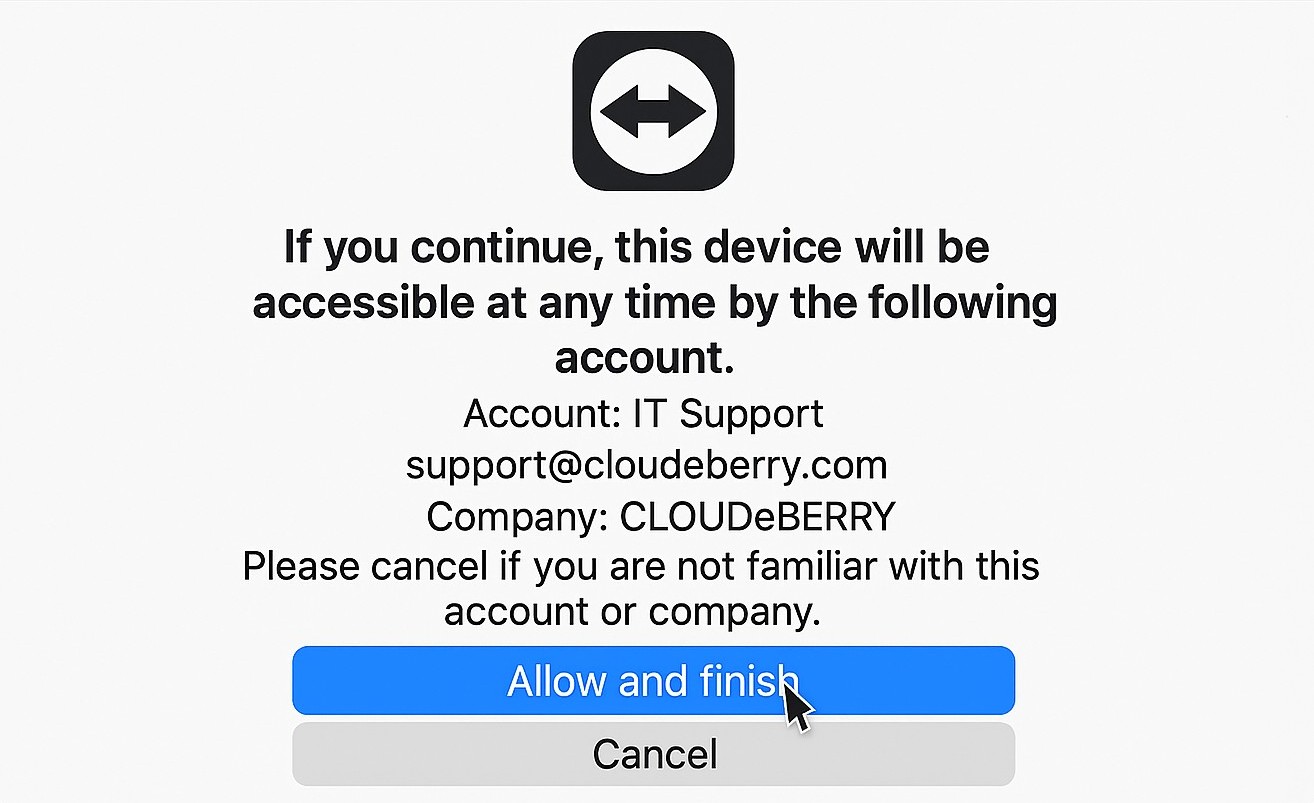
- Confirm that it shows our email address and company name, then click on Allow and Finish
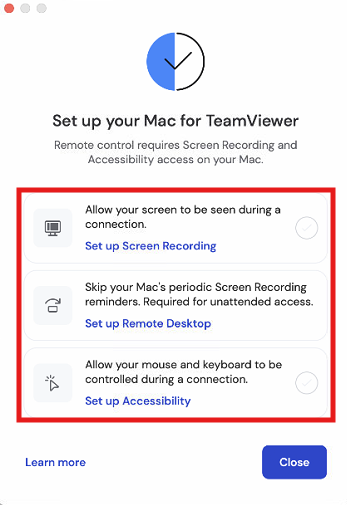
- A menu will pop up to enable permissions. Click on each setting and enable TeamViewer in all of them
- Finally, take a screenshot of your TeamViewer ID and Password and send it to us
Was this article helpful?
That’s Great!
Thank you for your feedback
Sorry! We couldn't be helpful
Thank you for your feedback
Feedback sent
We appreciate your effort and will try to fix the article